Ongoing
Low Cost Industrial Robot Arm
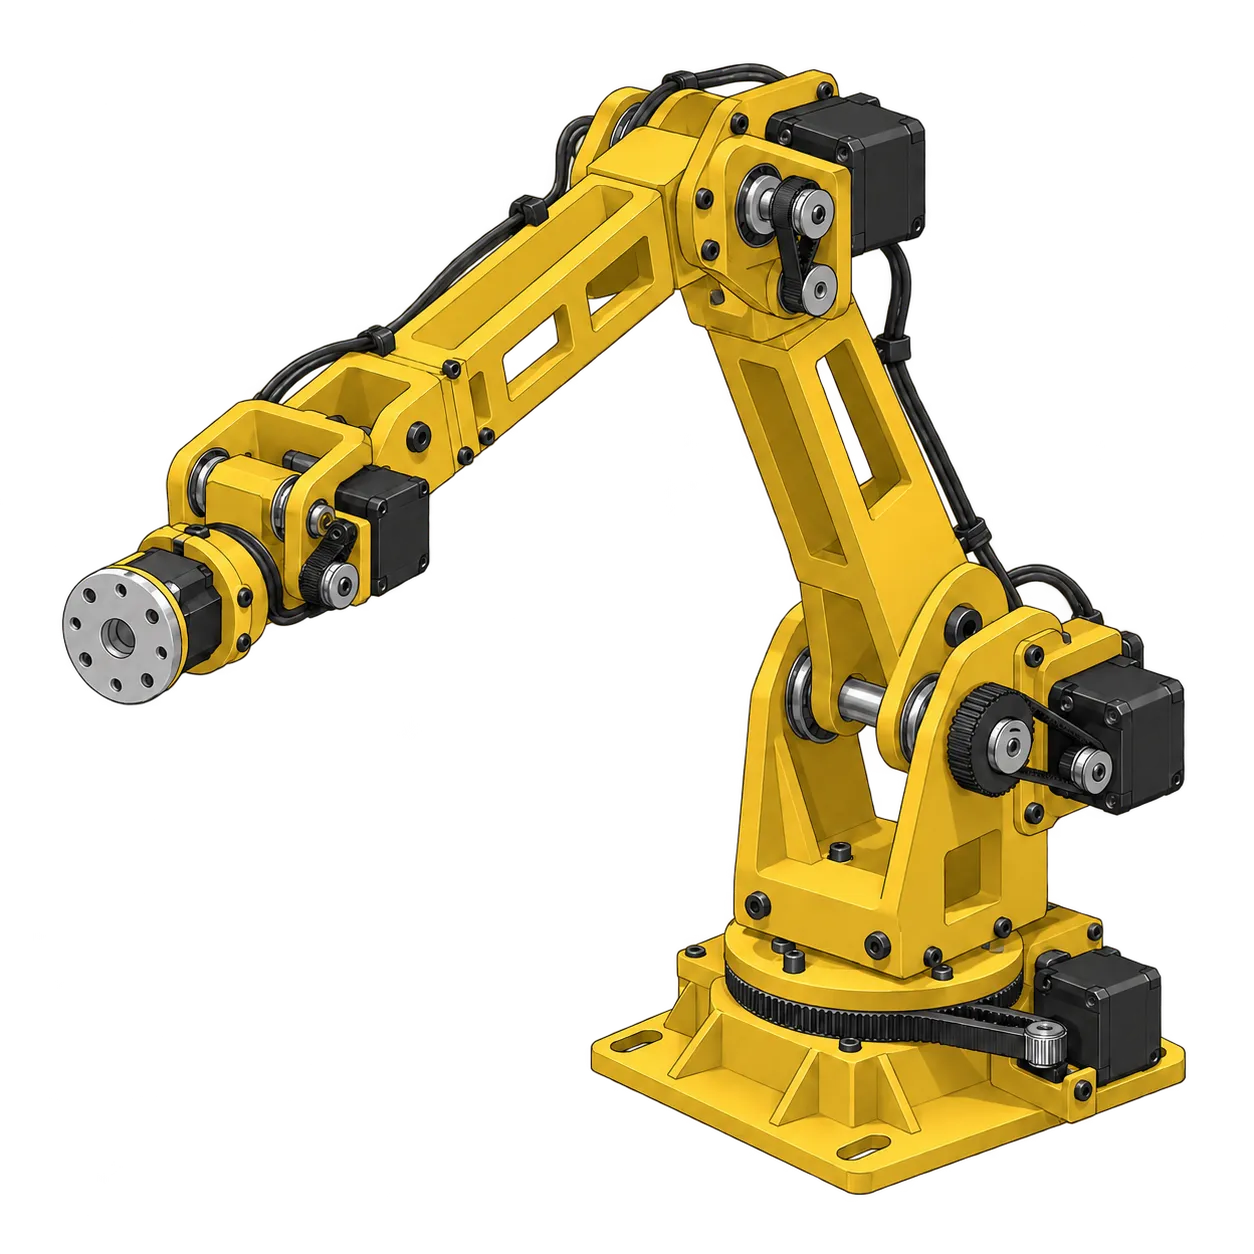
A five-axis arm designed and built from scratch, to find out how much precision a deliberately cheap machine can be made to hold.
Elegoo Centauri Carbon ordered · mechanical architecture and component selection being planned
Last updated: September 2026
Engineering targets
These are what the design is aimed at, not specifications the arm has met. Nothing here has been built or measured yet.
- Axes
- 5 articulated axes
- Hardware budget
- ~€200 target, excluding the 3D printer
- Structure
- 3D-printed structural components where practical
- Backlash
- As low as the joint and transmission design can hold
- Rigidity
- High mechanical rigidity across all five axes
- Positioning
- Repeatable end-effector positioning
- Measurement
- Calibration and positioning error measured later, on the built arm
- Integration
- Future automated 3D-printing insertion workflow
01
Why I'm building it
I spend most of my time on the digital half of robotics. This project is aimed squarely at the half I am weaker at.
Most of what I have built so far lives in software: robot programming, automation, machine learning. The writing robot on this site is a good example. I wrote a generator that turned text into FANUC motion, and the hardest single problem turned out to be mechanical. The line would not draw consistently, and no amount of tighter calibration in software fixed it. A spring in the pen holder did.
That stuck with me. The limit was not in the code, and I did not have the mechanical vocabulary to see it coming. So this project is deliberately pointed at mechanical engineering: designing a machine from scratch, printing it, assembling it, measuring it, and finding out where it is actually wrong.
Industrial arms like the FANUC I worked on are the reference for the kind of thinking I want to learn: how a machine is made stiff, how joints are supported, how motion is transmitted without slop. It is the reasoning I want, not the cost or the specification.
02
The goal
Making an arm move is the easy part. Making it come back to the same place twice is the project.
A five-axis articulated arm, structural parts printed on an Elegoo Centauri Carbon, with a current hardware target of around €200 excluding the printer itself. That figure is a target I am designing towards, not a bill of materials I have already met.
What I actually want out of it is repeatability. I want to find out how much precision and mechanical stability can be extracted from a machine built this cheaply, and which decisions along the way matter most:
- Structure Rigidity of the printed links, and where they will flex first
- Joints Joint design and bearing support at each axis
- Transmission Backlash, and which transmission choices reduce it
- Actuation Actuator selection driven by the mechanical requirements
- Tolerances Print tolerances, fit, and accumulated play
- Control Calibration and control, once the mechanics are known
There are no accuracy figures on this page, and there will not be any until I have built the arm and measured it. I do not know yet what it will hold.
03
What I want to learn
A specific list, because the point of the project is the skills, not the object.
- SolidWorks and CAD. Designing real parts to be manufactured, not sketches.
- Mechanical design. Load paths, where a structure wants to bend, how to stop it.
- Joint construction. How an axis is actually held together and supported.
- Tolerances and fit. Designing for what a printer will really produce.
- Bearings. Selection, preload, and how much they contribute to a joint’s stiffness.
- Transmissions. Belts, gears, reduction, and the backlash each choice brings.
- Actuator selection. Sizing motors from torque and inertia instead of guessing.
- Fabrication and assembly. Printing, finishing and assembling parts that fit.
- Calibration. Measuring what the machine does, and correcting for it.
- Error propagation. How a small error at the base becomes a large one at the tool.
The broader aim is to be an engineer who can take a system from mechanical design through to software and control, instead of only working on the digital side of it.
04
The long-term use case
The reason precision matters here is a specific job I want the arm to do.
The long-term goal is to connect the arm to my 3D-printing workflow, so that the printer and the robot work on the same part together:
The workflow I am aiming at
- The printer starts a part and runs to a planned pause.
- The arm approaches the partially printed part.
- It places a non-printable component into a prepared cavity, such as a bearing, a gear or a metal insert.
- The arm retracts clear.
- The printer resumes and prints around the inserted component.
This is a target, not a feature that exists. But it is the reason the mechanical side of the project is the side that matters: to place a small part into a cavity on a half-finished print, the arm needs to be repeatable enough to hit the same position reliably, and stable enough to do it without knocking the print or disturbing what has already been laid down. That requirement is what sets the bar for everything above.
05
Engineering questions
The things I do not know yet, written down now so the answers can be checked against them later.
- How much precision can a low-cost, mostly printed robot realistically achieve?
- Where does positioning error actually come from? The structure, the joints, the transmission, or the control?
- How much can calibration compensate for mechanical imperfection, and how much of it is simply not recoverable in software?
- At what point does improving the software stop helping, because the limitation has become mechanical?
- How rigid can a mostly 3D-printed structure stay across five articulated axes, and which axis gives out first?
I expect some of these to have uncomfortable answers. Writing them down before building is part of the point, because it is harder to quietly move the goalposts later.
06
Current status
Where the project actually is, as of September 2026.
- Project committed and underway.
- Elegoo Centauri Carbon 3D printer ordered. This is the machine the structural parts will be printed on.
- Mechanical architecture being planned: joint layout, link geometry, bearing and transmission arrangement.
- Component selection being planned. Motors, gearboxes, encoders, drivers and control electronics are not chosen yet, and choosing them from the mechanical requirements is part of the exercise.
- CAD and physical prototyping still ahead. No parts printed, no assembly, no measurements.
This page will be updated as the work progresses. Precision, repeatability and cost figures will be added once there is a built arm to measure.